Monitored Email
Since version 1.2.0 Mautic has provided a feature which allows monitoring of IMAP accounts to detect bounced emails and unsubscribe requests.
Monitored Inbox Settings
To use the Monitored email feature you must have the PHP IMAP extension enabled (most shared hosts will already have this turned on). Simply go to the Mautic configuration and fill in the account details for the inbox(es) you wish to monitor.
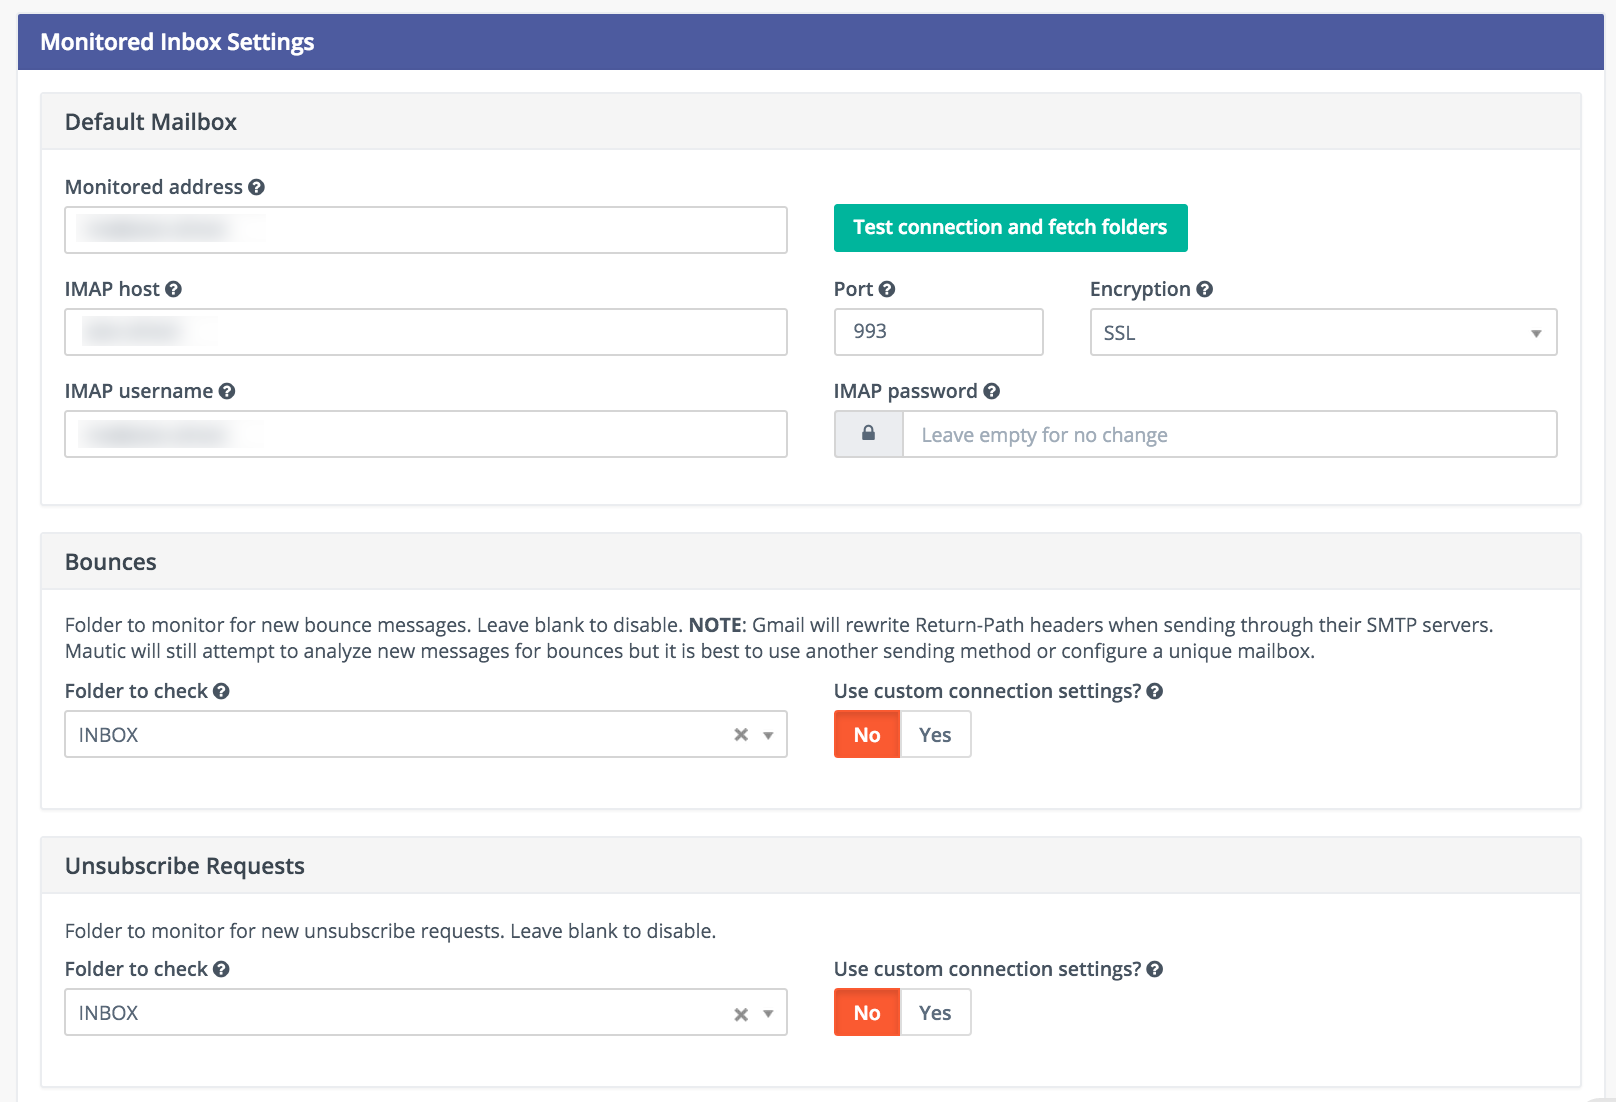
It is possible to use a single inbox, or to configure a unique inbox per monitor.
To fetch and process the messages, run the following command:
php app/console mautic:fetch:email
Note that it is best to create an email specifically for this purpose, as Mautic will read each message it finds in the given folder.
If sending mail through Gmail, the Return Path of the email will automatically be rewritten as the Gmail address. It is best to use a sending method other than Gmail, although Mautic can monitor a Gmail account for bounces.
If you select an Unsubscribe folder, Mautic will also append the email as part of the "List-Unsubscribe" header. It will then parse messages it finds in that folder and automatically unsubscribe the contact.
Create a segment with bounced emails
This is not required, but if you'll want to be able to select the contacts with bounced emails easily for example to delete all bounced contacts, create the segment with bounced emails.
- Go to Segments / New.
- Type in the segment name. For example Bounced emails.
- Select the Filters tab.
- Create new Bounced Email equals Yes filter.
- Wait for the
app/console mautic:segments:updatecommand to be automatically triggered by a cron job or execute it manually.
All contacts with bounced emails should appear in this segment.
Mandrill Webhook
Mautic supports a few of Mandrill's webhooks for bounces.
1) Login to your Mandrill account and go to Settings -> Webhooks
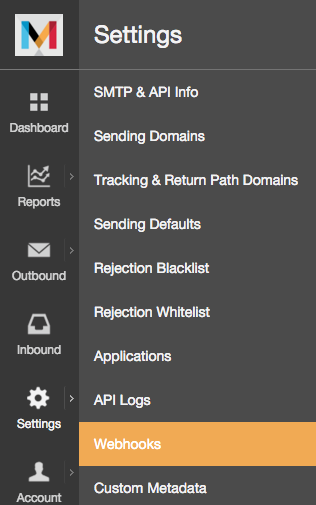
2) Click Add a Webhook

3) Mautic 1.2.2 supports the following webhooks: Message is Bounced, Message is Soft-Bounced, Message is Rejected. As of 1.2.3, Message is Marked as Spam and Message Recipient Unsubscribes will be supported.
4) Fill in the Post To Url as http://your-mautic.com/mailer/mandrill/callback then click Create Webhook.
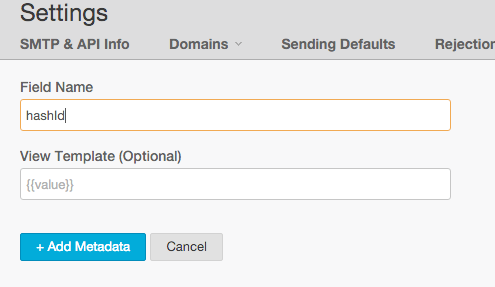
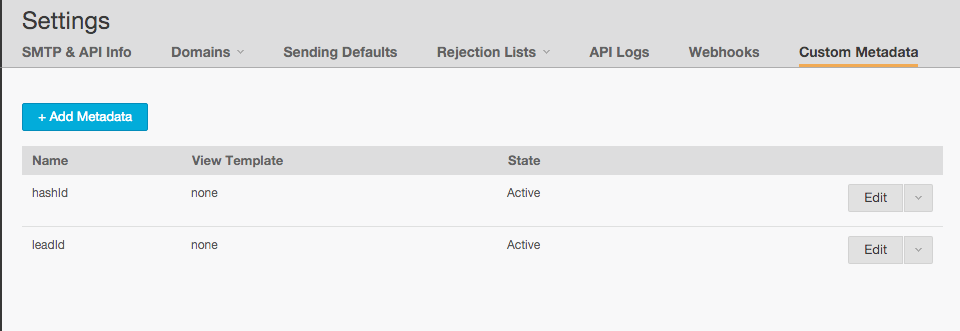
5) Click Custom Metadata and create two new metadata fields: hashId and contactId
Sparkpost Webhook
1) Login to your Sparkpost account and go to Account -> Webhooks.
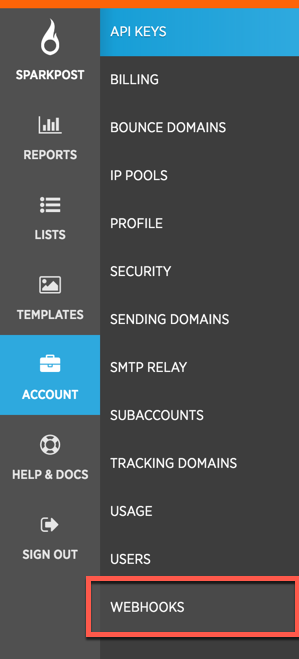
2) Click the New Webhook button top right

3) Fill in the Target URL as http://your-mautic.com/mailer/sparkpost/callback
4) Select the following Events
